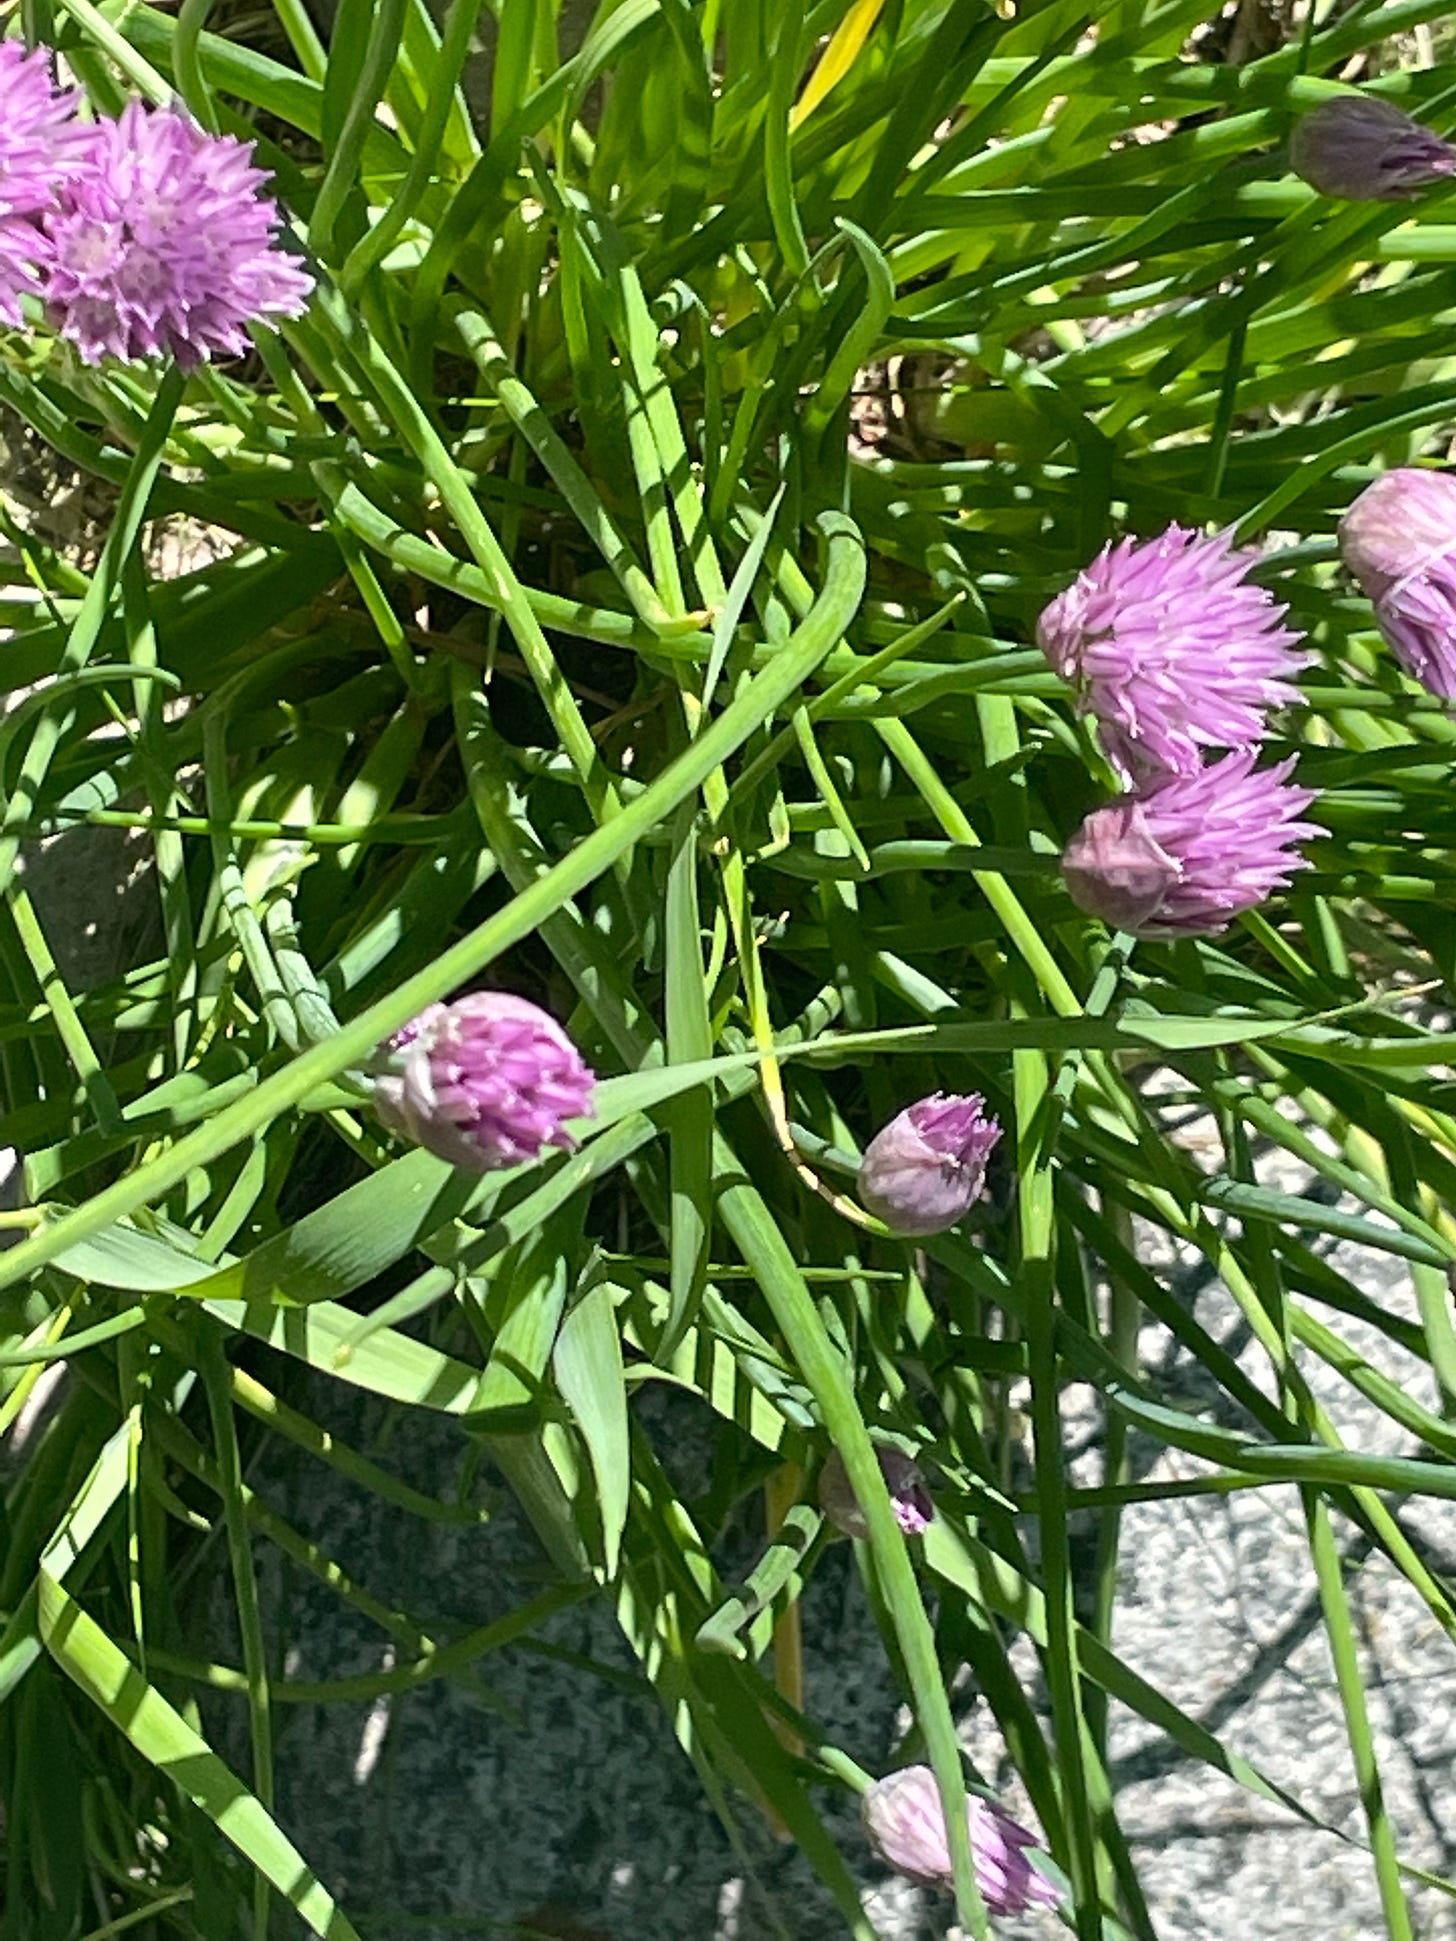
Our chive plant is out of control. I was so pleased to find out that it’s quite easy to preserve this onion flavoured herb.
First, bring your scissors out and cut as much chive as you’d like, as close to the base as possible.
Lay out your chive strands and pick through to remove any dry bits or grass.
Fill your sink with cold water, add a splash of white vinegar. Add your chives, move them around for a few minutes to wash.
Lay out an absorbent large cloth or tea towel and place your freshly washed chives over top.
Cover with paper towel and leave to dry for a few hours, up to a day.
From here, I have two ways to preserve your chive.
Charred chive salt and chopped frozen chive, ready to use at any moment directly from your freezer.
The latter will consist of you taking the chive bundle chosen, chopping it in a manageable half, and setting the cut sides, side by side. Next, chop into small chive pieces.
Place in a ziplock bag and put them in the freezer. They will keep for the year! Ready to use a handful or two for omelettes, potatoes and maybe even a compound chive butter.
Charred chive salt will change your life, or, at least it will elevate your meals beyond your wildest dream.
Preheat your oven to 425°C. Line a baking sheet with parchment paper. Add a splash or two of a neutral tasting oil, I used olive oil, and place your whole chive stems over top, lightly mixing them around in the olive oil.
Once the oven is ready, bake the chives anywhere between 15 minutes to 35 minutes depending on the strength of your oven and the amount of chive used.
You don’t want them to be blackened. You’re looking for a cooked chive, that’s slightly dried out.
Once ready, cool your chive, rough chop and add to a mortar and pestle or food processor.
Add equal parts salt and combine.
Charred chive salt is a game changer. On fish, eggs, chicken, potatoes, its uses are as versatile as it is delicious, earthy and homemade.
Enjoy!


